Starfighter Arduxim for Oculus Quest

With the success of the Quest and Quest 2 I’ve been looking at upgrading Starfighter Arduxim to work on that platform. I had a couple of false starts trying to upgrade from Unity 5.3 to something recent enough to support Quest development. Upgrading the project resulted in huge numbers of errors, and creating a new project and copying the assets and settings across had different but similarly bad results.

I tried the upgrade method again recently and persevered with fixing the bugs, and this time got the code to work as far as being able to start the menu scene. This was enough incentive to keep going and after a week or two, I now have a Quest build running using buttons and sticks on the motion controllers to control your craft.

Gamepads should still work though I need to add that back in. I considered adding virtual controls, i.e. grab an in-game throttle and stick and move them around, but I dislike the lack of feedback with that control scheme so I’ve dropped that for now.

I’m now working my way through the graphics of the original game to make them all look significantly better, as this was one of the main criticisms of the original release.

I plan to update the Rift and Steam versions first, then work towards a Quest App Lab release.

Thumb exoskeleton and compressor

I’ve been working on a couple of major parts to the glove recently: the air compressor and the thumb exoskeleton.

Compressor

The compressor needs to be small enough and light weight enough that it could be strapped to the user’s upper arm, though when wearing a pair of gloves it makes more sense for the compressor along with the air tank and battery to be in a small backpack, bum bag or shoulder bag. First I tried a tiny 6V motor which definitely met the ‘small enough’ requirement but wasn’t powerful enough to get enough pressure in the tank.

I’ve since switched to a relatively larger motor which runs at 12V, and this is giving promising results. I can use bigger pumps and have a design to use 2 to 4 pumps on a single motor.

20180408_130757.jpg
20180909_133720.jpg

Thumb exoskeleton

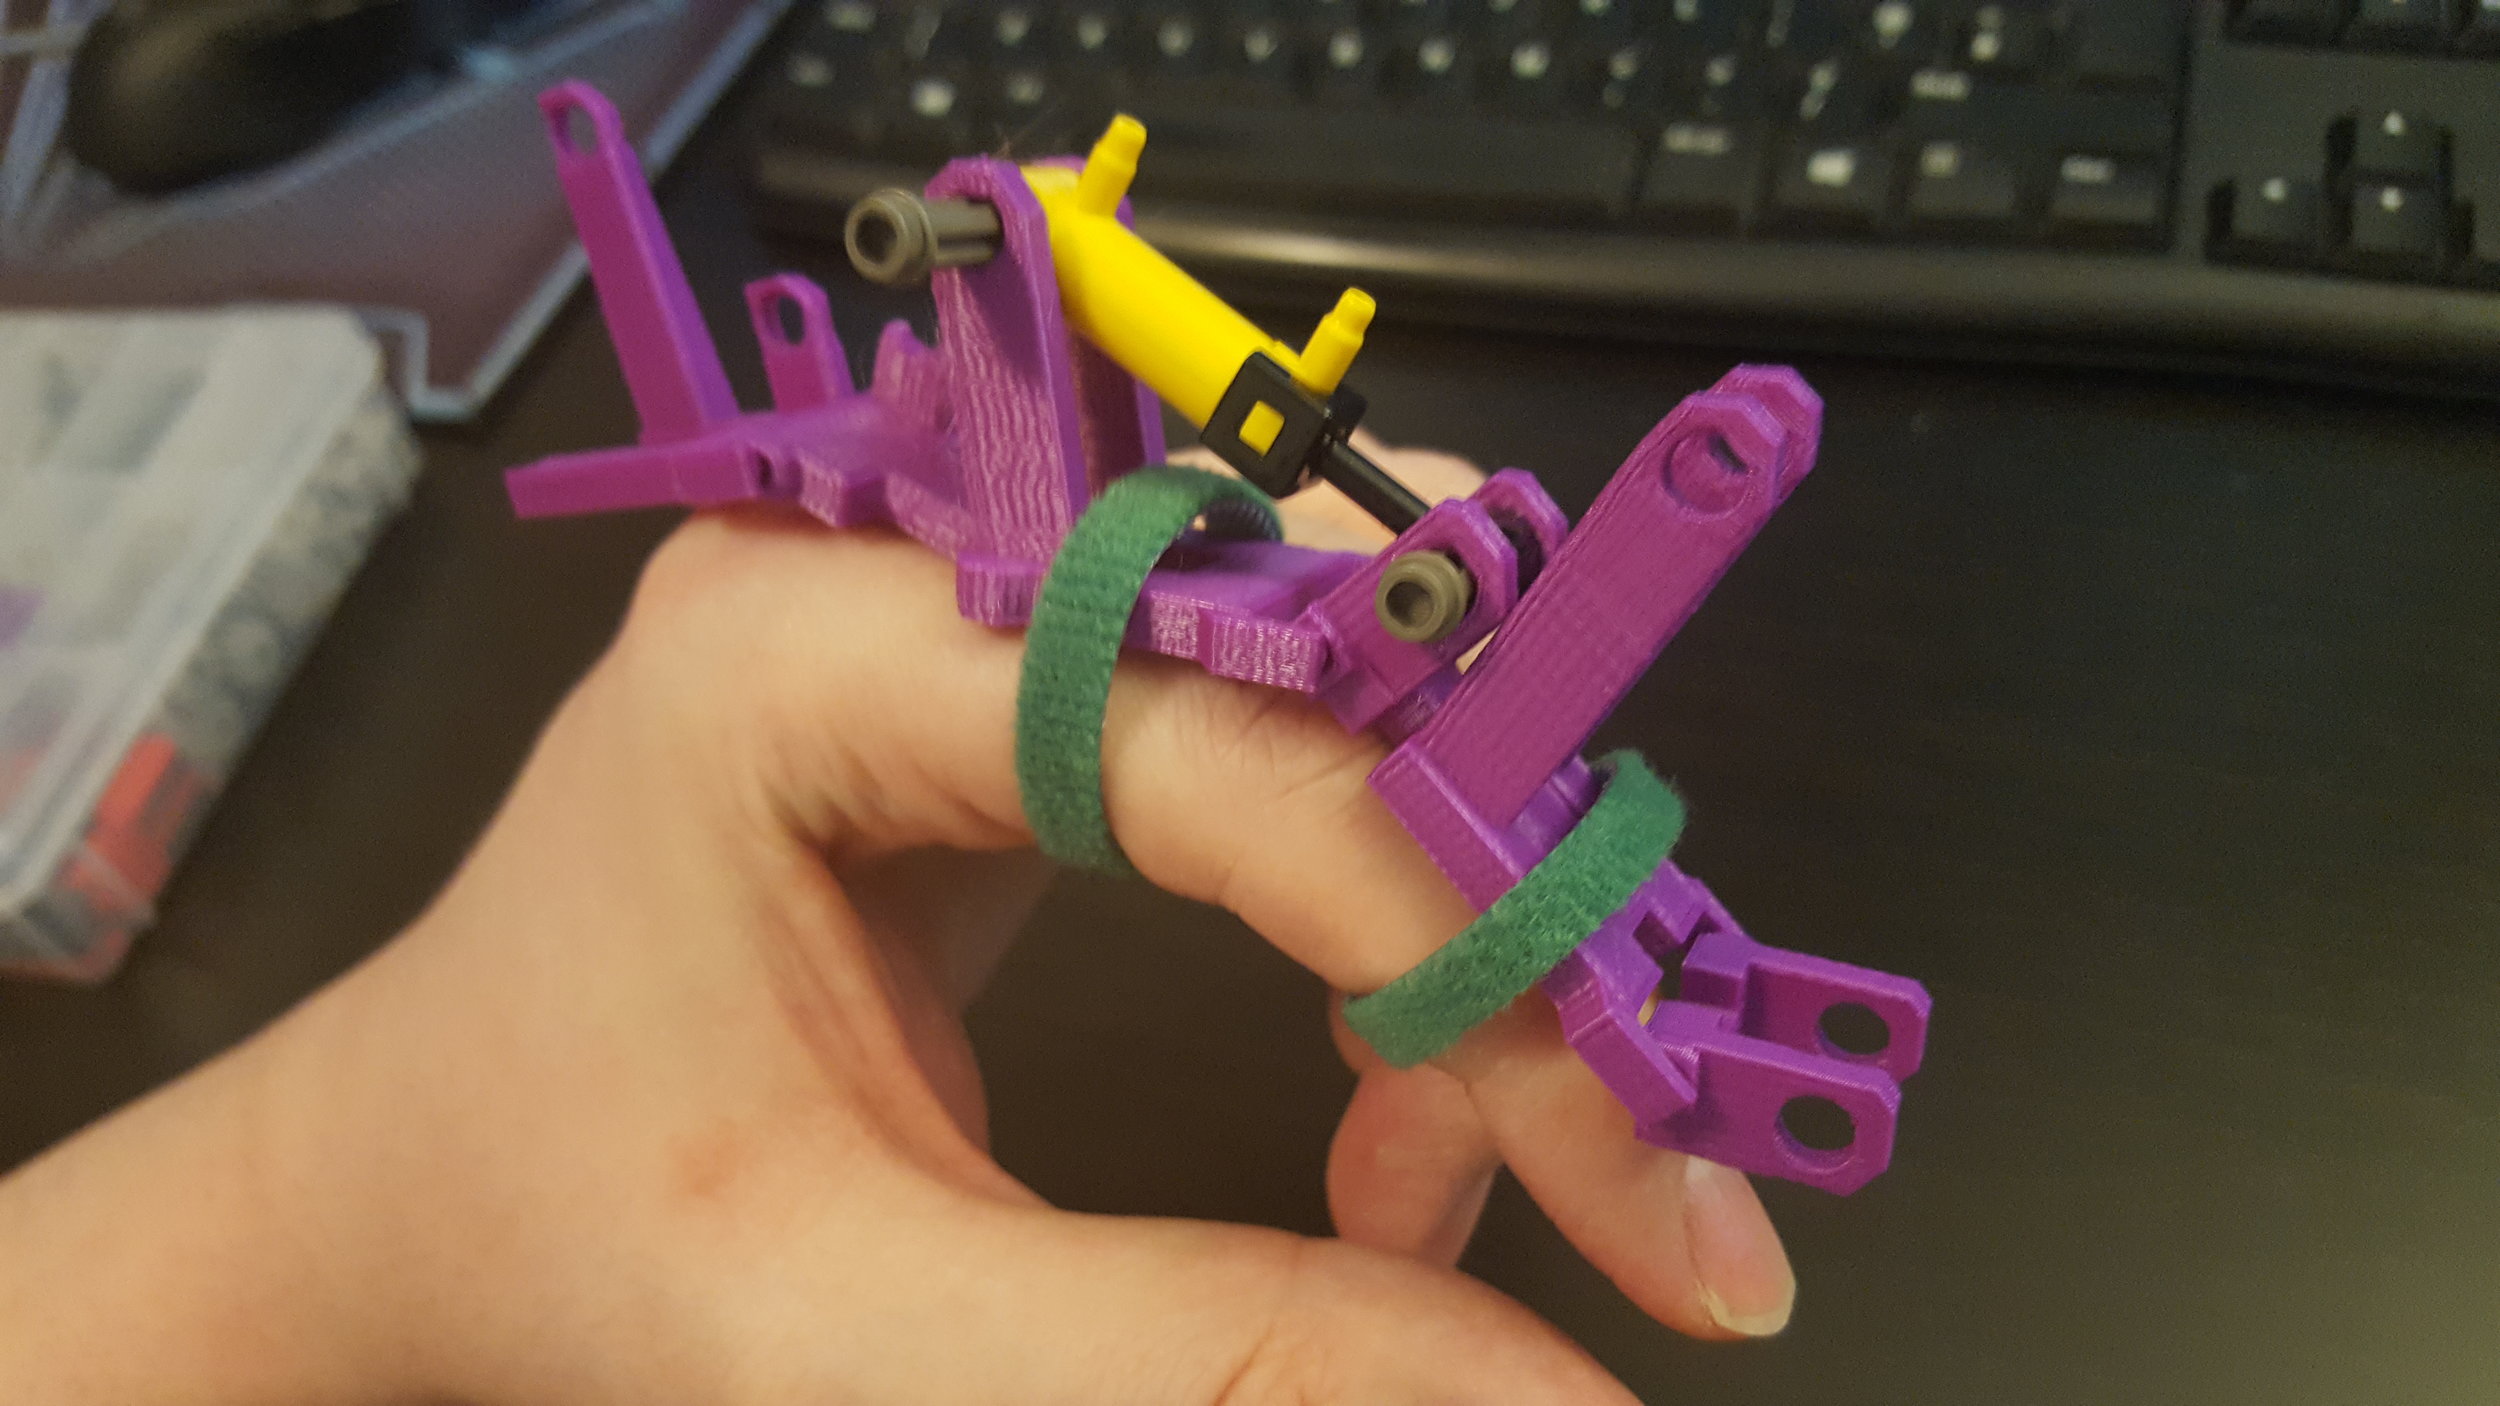
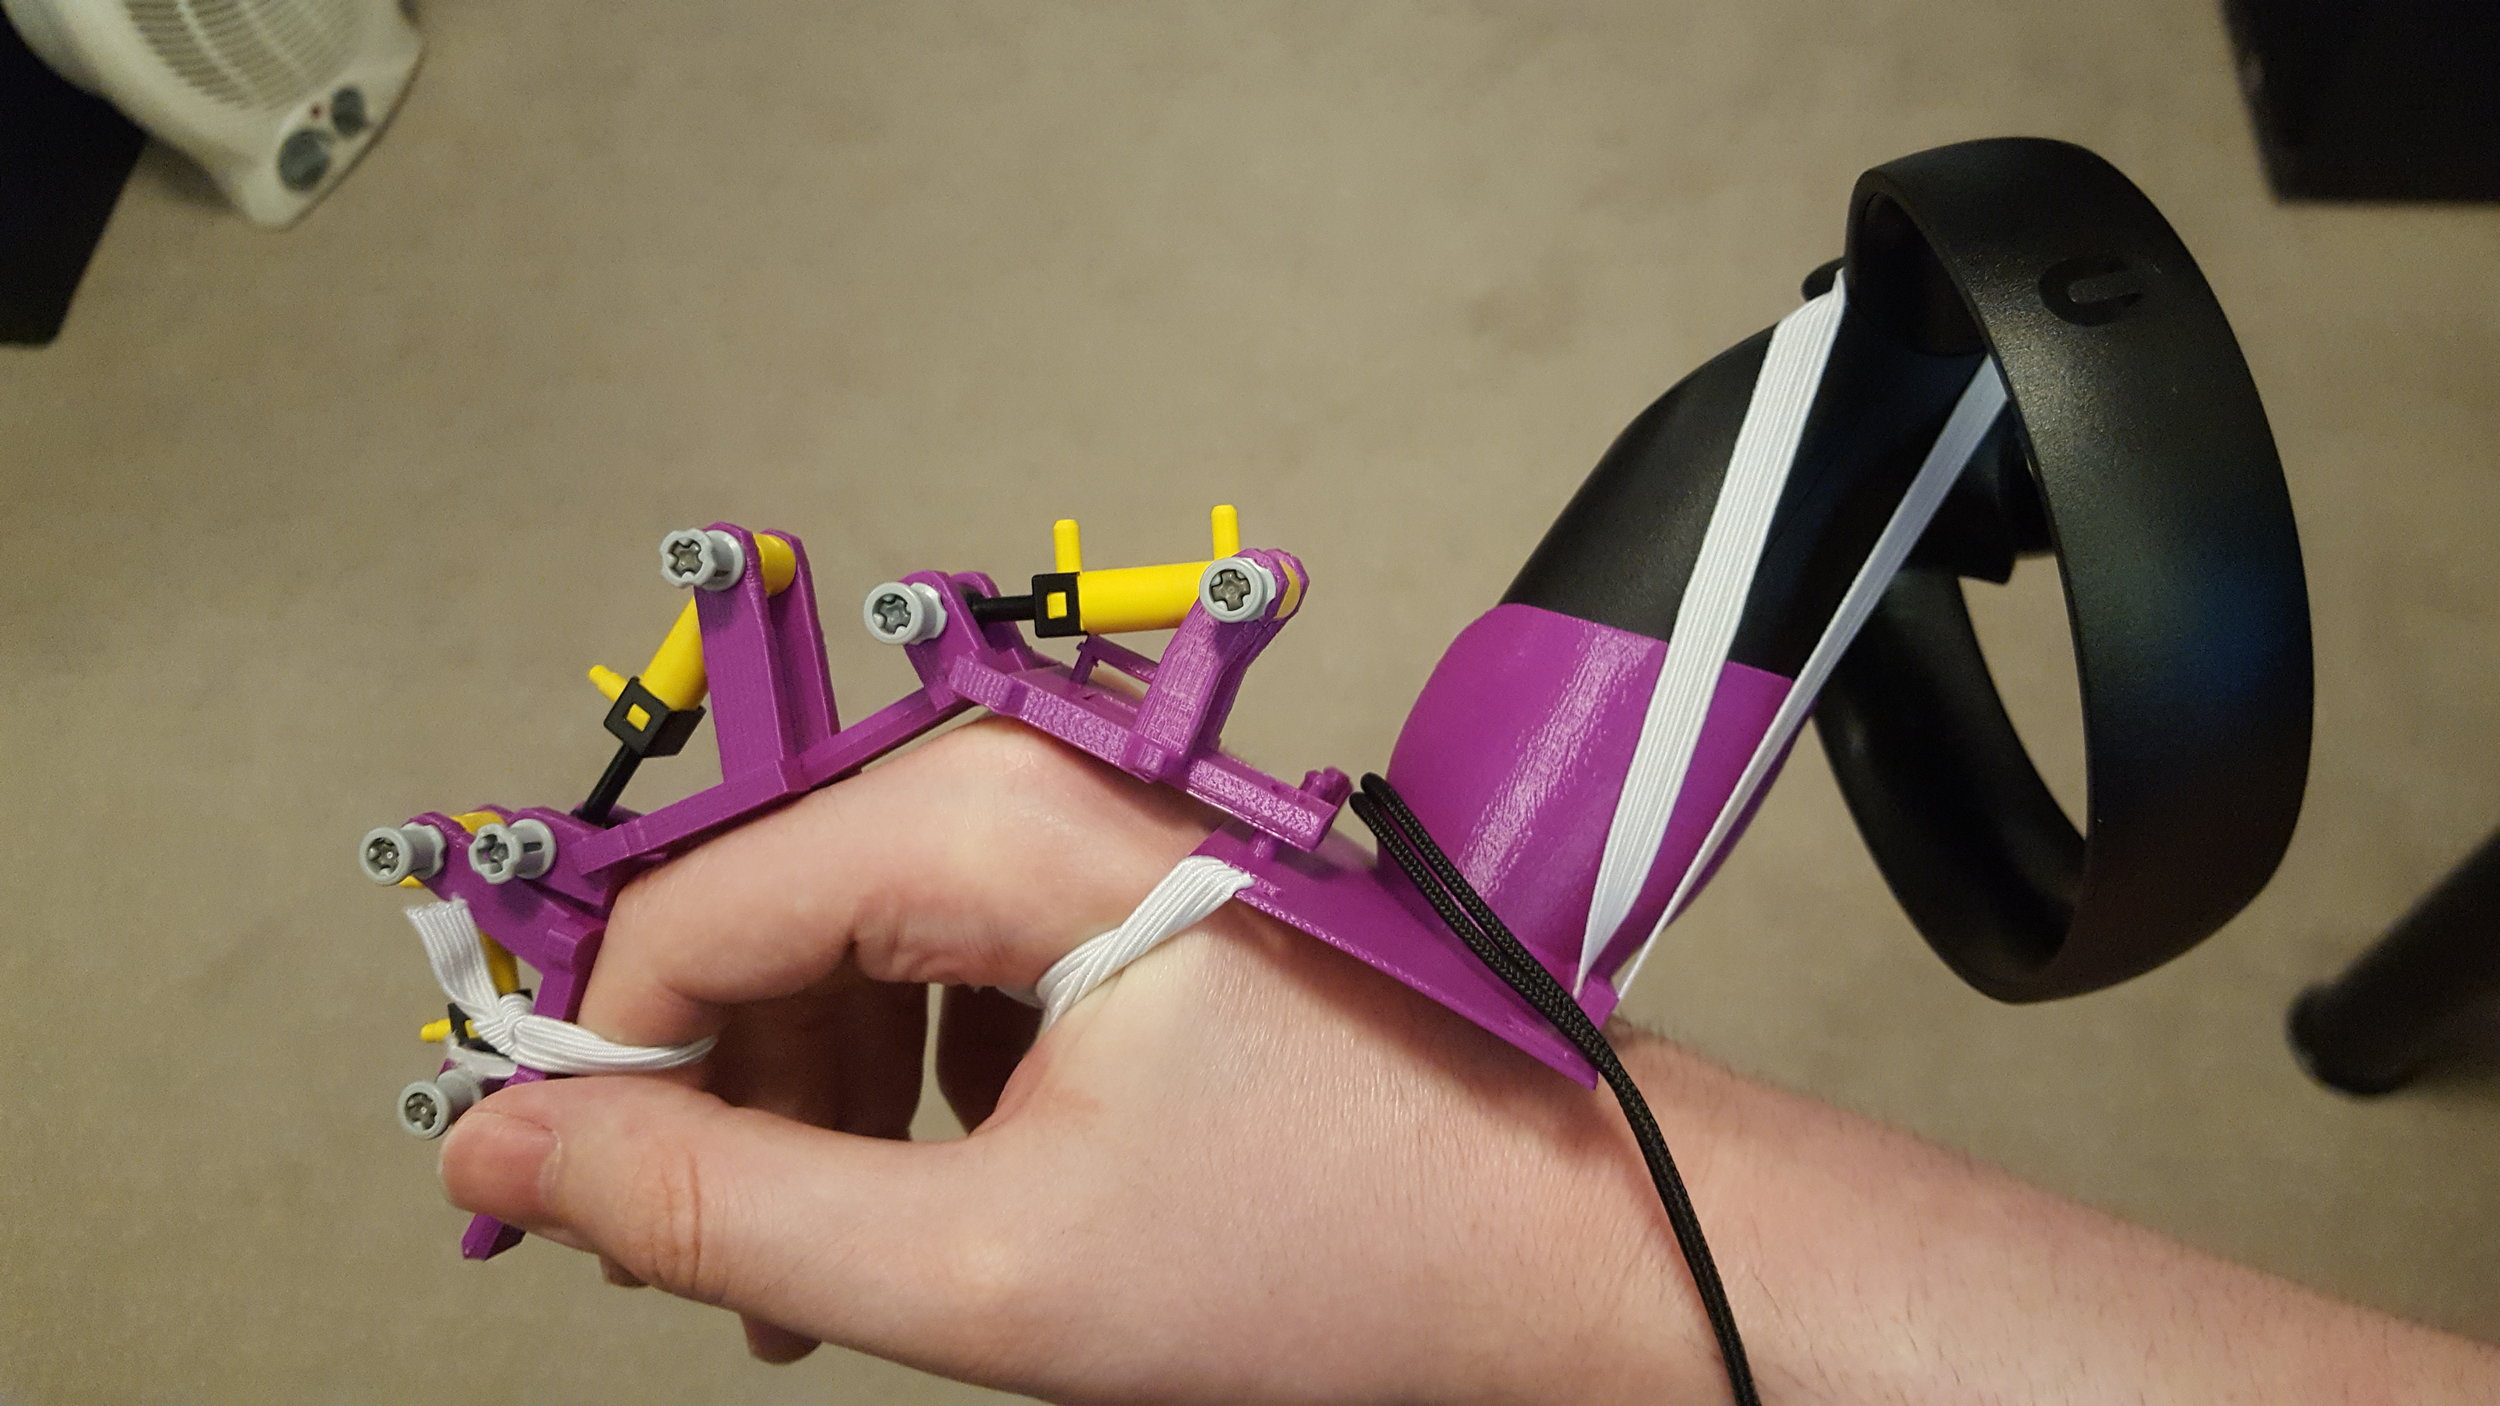
The human thumb is much more complex to wrap in an exoskeleton than the fingers. Each finger 4 degrees of freedom (DOF): 3 flexion/extension joints and 1 adduction joint, with the adduction joint only having about 20 degrees of motion. I have a working prototype for the 3 flexion joints and plans for supporting adduction, though this will be done after the wrist/forearm exoskeleton. Currently the VR tracker is mounted on the back of the hand but I plan to move that to the forearm and track and apply force to the wrist joint. This allows for physical effects like pistol kickback and provides more space for the electronics and pneumatics.

The thumb has more degrees of freedom - it is generally accepted as having 5 DOF. These are roughly equivalent to the 3 flexion and 1 adduction of the fingers, plus 1 degree of freedom for pronation-supination (the rotation which allows the thumb to touch the palm and other fingers). The positioning of the joint at the base of the thumb makes it difficult to wrap in an exoskeleton, unlike the fingers where the palm and back of hand provide a good ‘scaffold’. I’m still iterating the design but here are some images of where it is at the moment.

20180703_211917.jpg
IMG_4355.JPG
IMG_4357.JPG

Rapid prototyping with 3D printing

It's amazing how quickly one can iterate on a design with a 3D printer - I know I'm late to the party but I can see how they will change (and presumably have changed) prototyping and design.

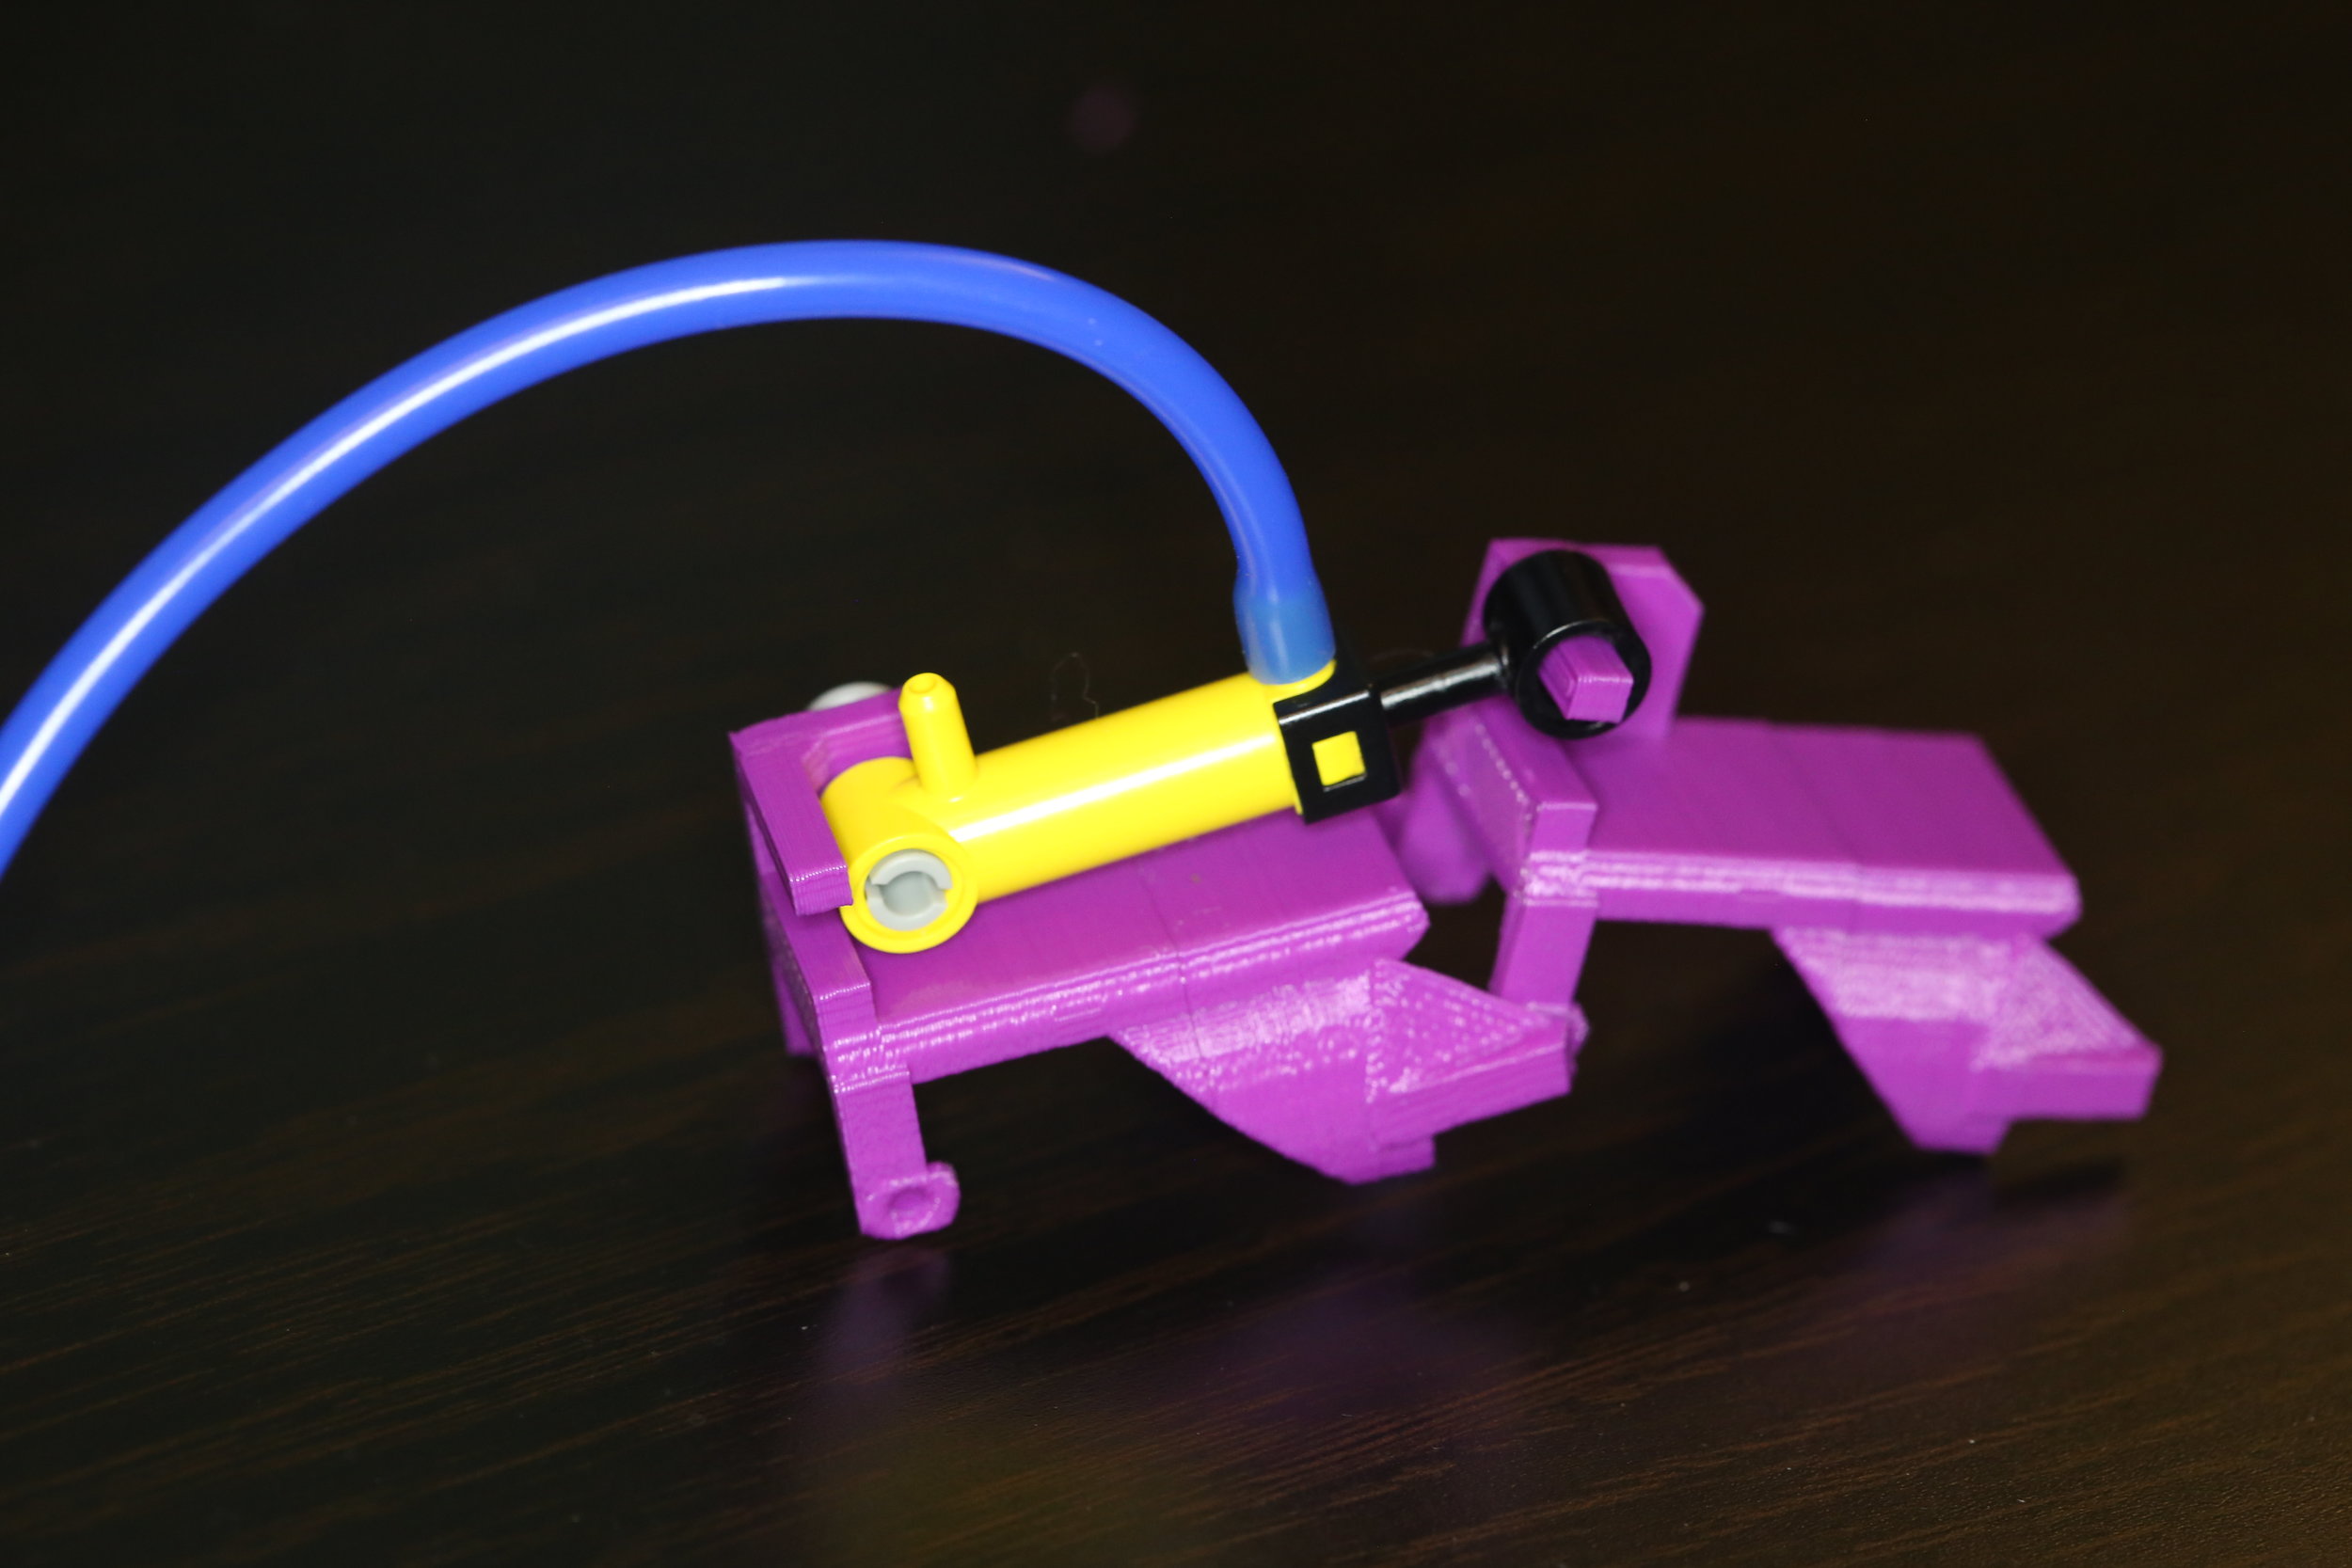
I've made advancements in most of the physical components over the last couple of weeks. The finger joint itself has undergone many iterations as you can see here:

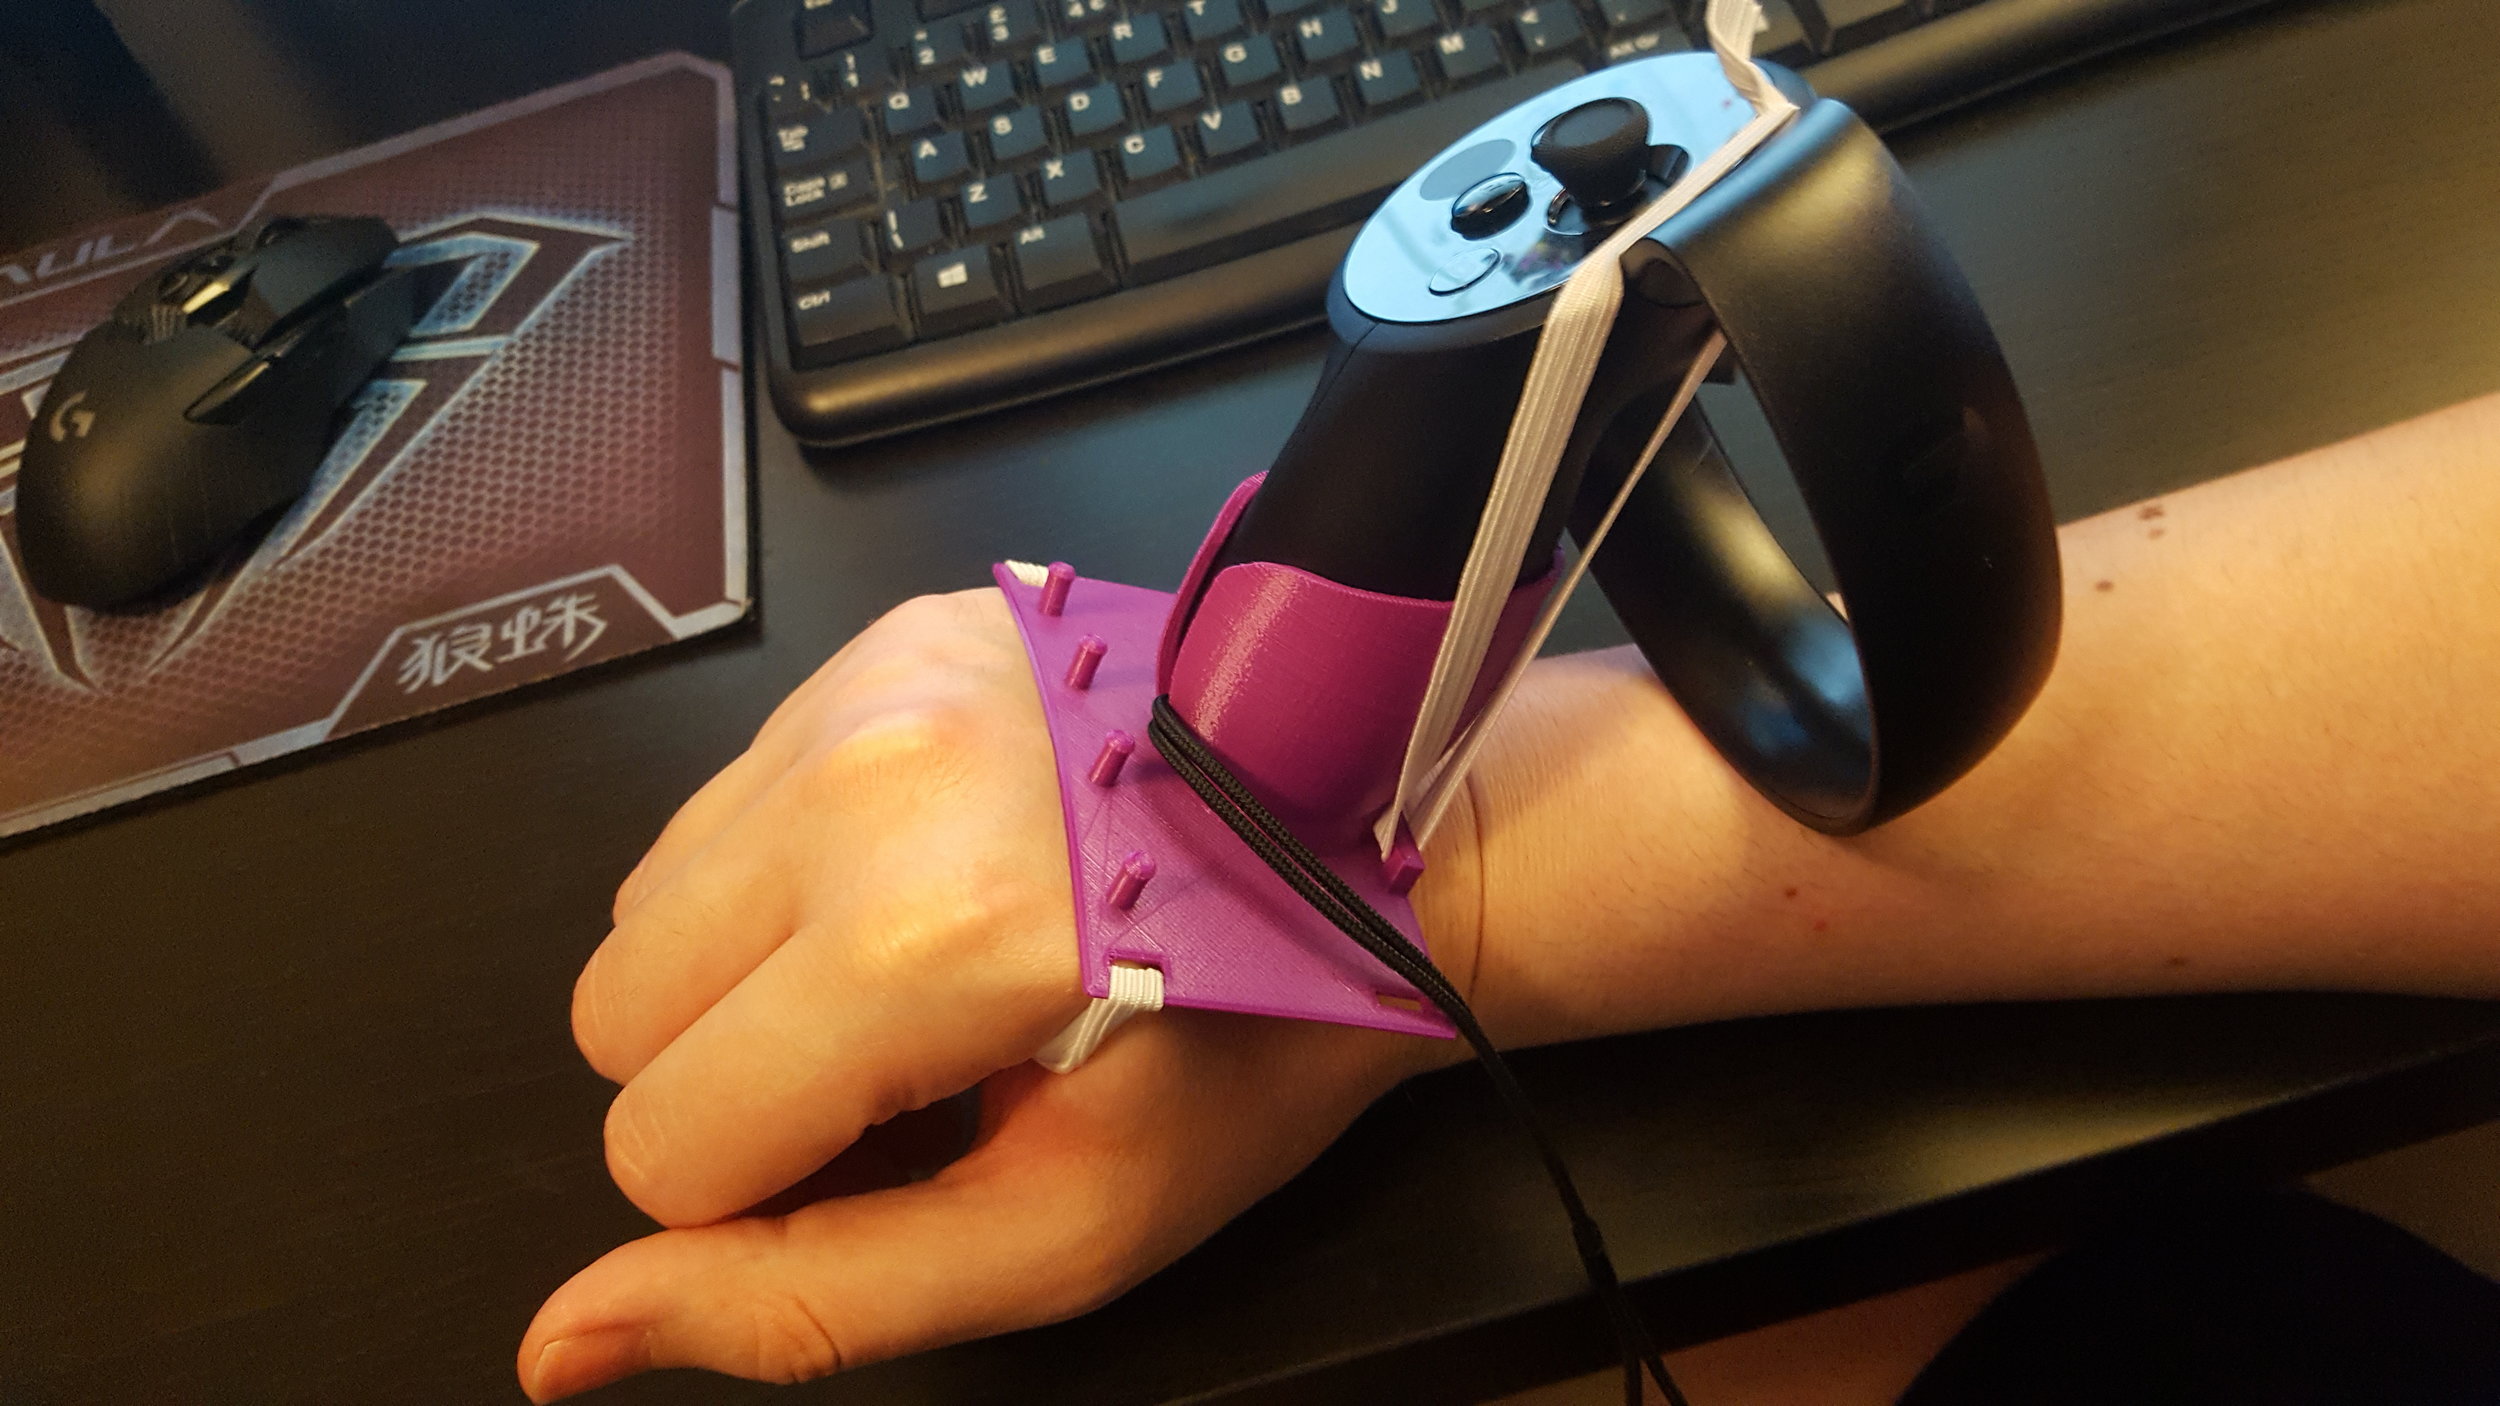
The finger joint attached to a back plate which is strapped to the back of the user's hand. At this stage I'm mounting the VR controller to the back plate but for the final glove design I hope to include pistons with sensors attaching the glove to a forearm mounted unit housing the electronics and compressor. The wrist pistons will allow the glove to simulate force feedback similar to the kick back from a gun, and the sensors mean the VR controller can be mounted on the forearm (where its mass and inertia will be felt less) while still allowing the glove to report accurate hand and finger positions to the VR environment.

I'm also planning on creating separate quick-release mounts for the Oculus Touch and Vive Tracker - I'm just using the Touch for now as the Vive is set up in a separate room while the Touch is in my office.

For the prototype I'm controlling the air flow with a servo based valve. This is likely to be slower than a solenoid based equivalent but has a few advantages. It requires less current so is easier and safer to work with, and only requires power when moving to a new position.

Last up for now if the compressor. I tried a few designs based on a high RPM DC motor but none were satisfactory. You can make gear boxes with a 3D printer but it's difficult to make a good one, and even when it worked it was far too loud. I found these brilliant motors with a built in gear box which can take them down to 15RPM, though I found the 70RPM one to be the best balance between power and speed. The compressor mount needs an adjustment due to it flexing too much, but that's lined up to be 3D printed soon.

Prototyping The Pneumatic VR Glove

I've recently switched from working on Arduxim Squadron Command to looking again at the pneumatic VR glove concept. I originally worked on this two years ago so it's quite a gap. I wasn't able to continue then due to relying on Lego parts for the structure of the glove, but I've recently bought a 3D printer which has been hugely helpful.

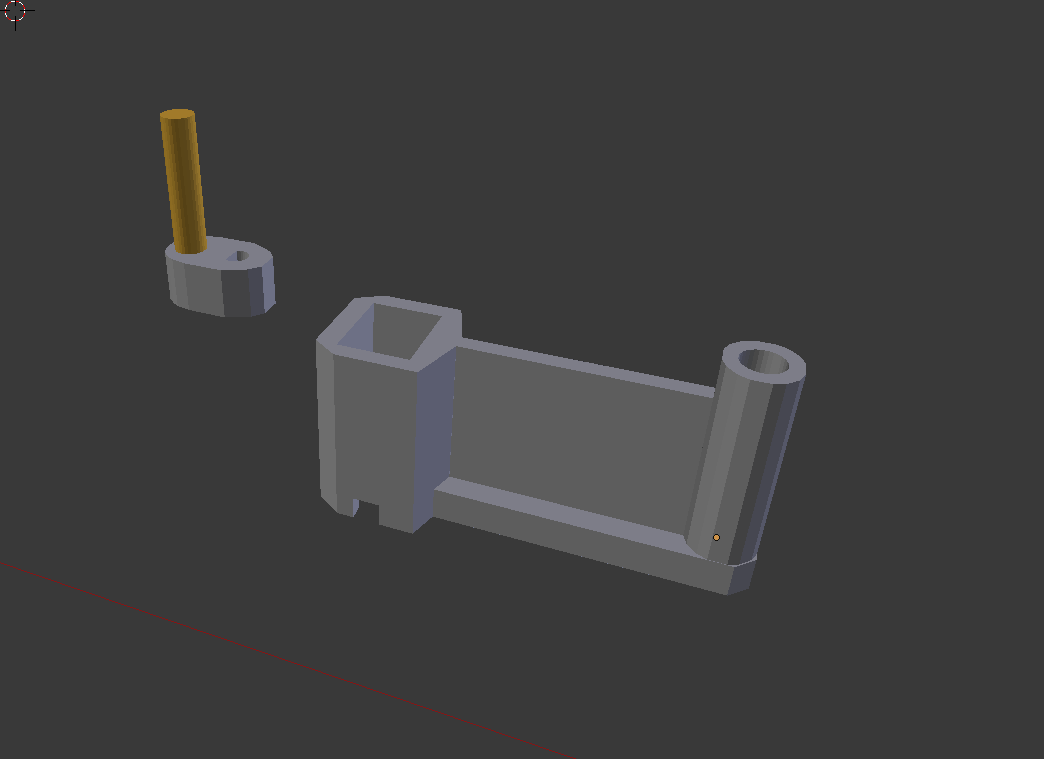
The printer is a Monoprice Maker Select Plus - a fairly low end printer at around £300 but it is doing the job brilliantly and has let me try multiple designs for components of the glove. At the moment I'm still using Lego Technic for the pneumatics but I hope to create 3D printed pistons and valves in future. This is a challenge but I don't think the pneumatic parts need to have perfect seals (and the glove may even work better without that) so 3D printing them may be possible.

Below are some of the designs. The first two images show the compressors I've tried - none have pumped well but each iteration gets better. The rest are the finger joints, in the last images with the piston attached for a manual test.